Today was a busy day... I finished drilling the skin on the right aileron, trimmed and drilled the spade skin, and then got to enjoy deburring all those holes! That's got to be my least favorite part of the entire process. I've included a couple of pics showing some of my various deburring tools... when those ribs taper down to almost nothing, you've got to have the right tool to get to the back side of the holes.
There's also a pic of the skin showing how some of the holes are dimpled around the center hinge opening. You've got to be really careful when it comes to this, as you can get yourself in a bind if you don't think ahead. The manual clearly points out repeatedly that such and such holes need to be dimpled for flush riveting... but never once does it mention dimpling the top row and top 3 holes of the center hinge cover. Even though these holes are in the same area as other holes that are dimpled. Bottom line... from the spar down the nose ribs, the top 3 holes in every rib get dimpled... this is done to avoid interference with the top wing skin or gap seal should you install one. If you don't also do the top row and 3 holes down for the center hinge cover, you now have domed rivets in an otherwise smooth area. And if you rivet the skin on first, then you can't get to the back side of the skin where you need to make the dimples.
Make sure you get all your dimpling done before you start riveting.
| Attachments: |
File comment: Here's the spade skin all fitted and drilled.
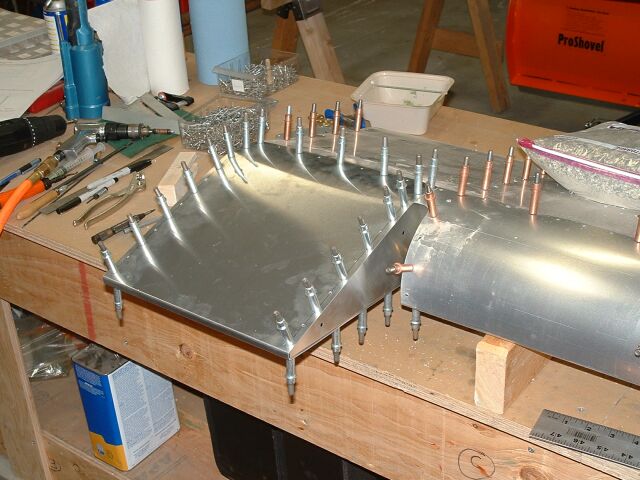
2005_0202_123520AA.JPG [ 61.61 KiB | Viewed 26392 times ]
|
File comment: Looking from the outboard end.
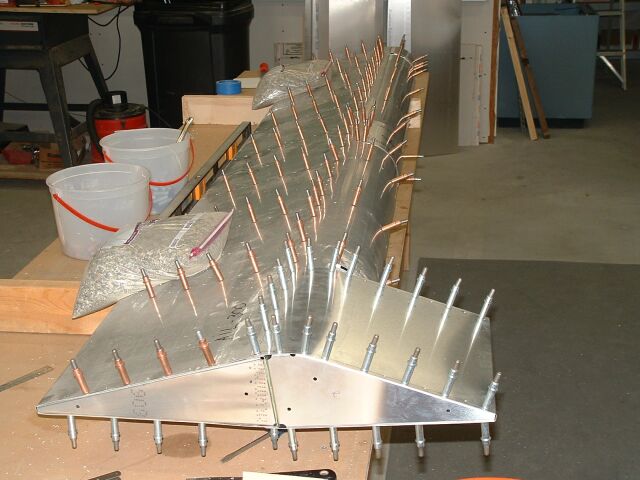
2005_0202_123530AA.JPG [ 51.79 KiB | Viewed 26392 times ]
|
File comment: Now how are you supposed to debur a hole in such a tight space?
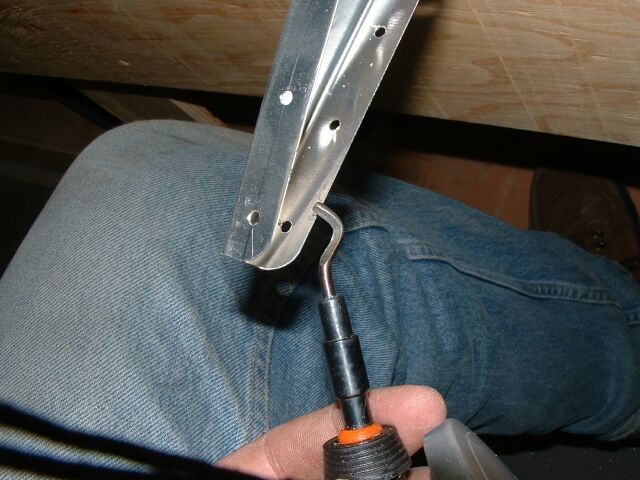
2005_0202_135241AA.JPG [ 55.26 KiB | Viewed 26391 times ]
|
File comment: The hooked shape allows you to get right in there.
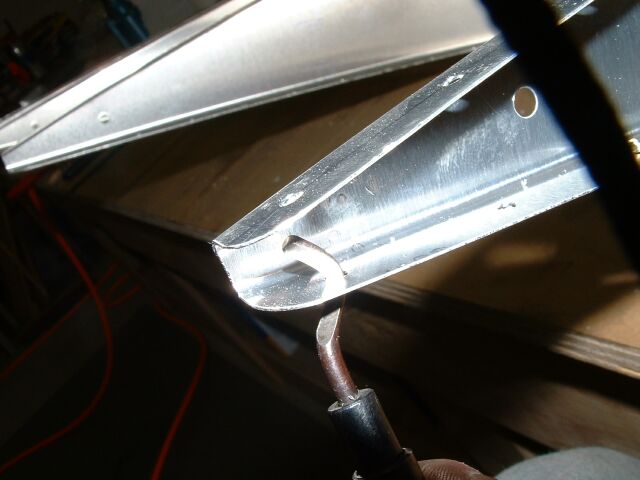
2005_0202_135249AA.JPG [ 35.21 KiB | Viewed 26391 times ]
|
File comment: Here's an assortment of my deburring tools.
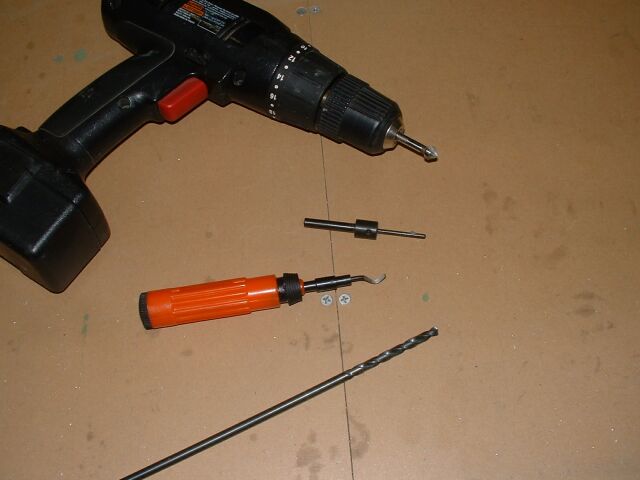
2005_0202_141025AA.JPG [ 29.95 KiB | Viewed 26387 times ]
|
File comment: Notice all the dimples around this hole... the manual only mentions some of them, you need to think ahead and make sure you get everything you need to.
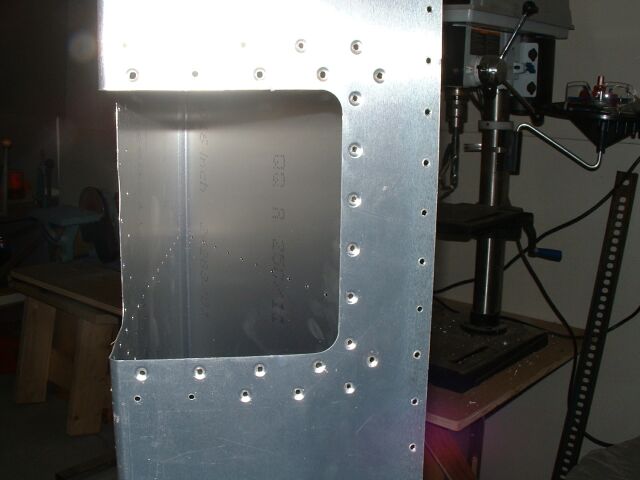
2005_0202_151002AA.JPG [ 32.58 KiB | Viewed 26387 times ]
|
File comment: Bottom's all riveted up.
2005_0202_175321AA.JPG [ 48.48 KiB | Viewed 26388 times ]
|
File comment: And now the top's done too... just have to do the spade skin and this one's done.
2005_0202_183605AA.JPG [ 59.77 KiB | Viewed 26389 times ]
|
_________________

010010010010011101100100001000000111001001100001
011101000110100001100101011100100010000001100010
011001010010000001100110011011000111100101101001
011011100110011100100001


